Step 6: Battery and controller
Now you will mount the battery bracket and controller on the bike frame. Placement depends on your frame. Here we show a common solution.
The battery cables are always live. Do NOT mount the battery yet. That is done last, when everything else is complete and checked.
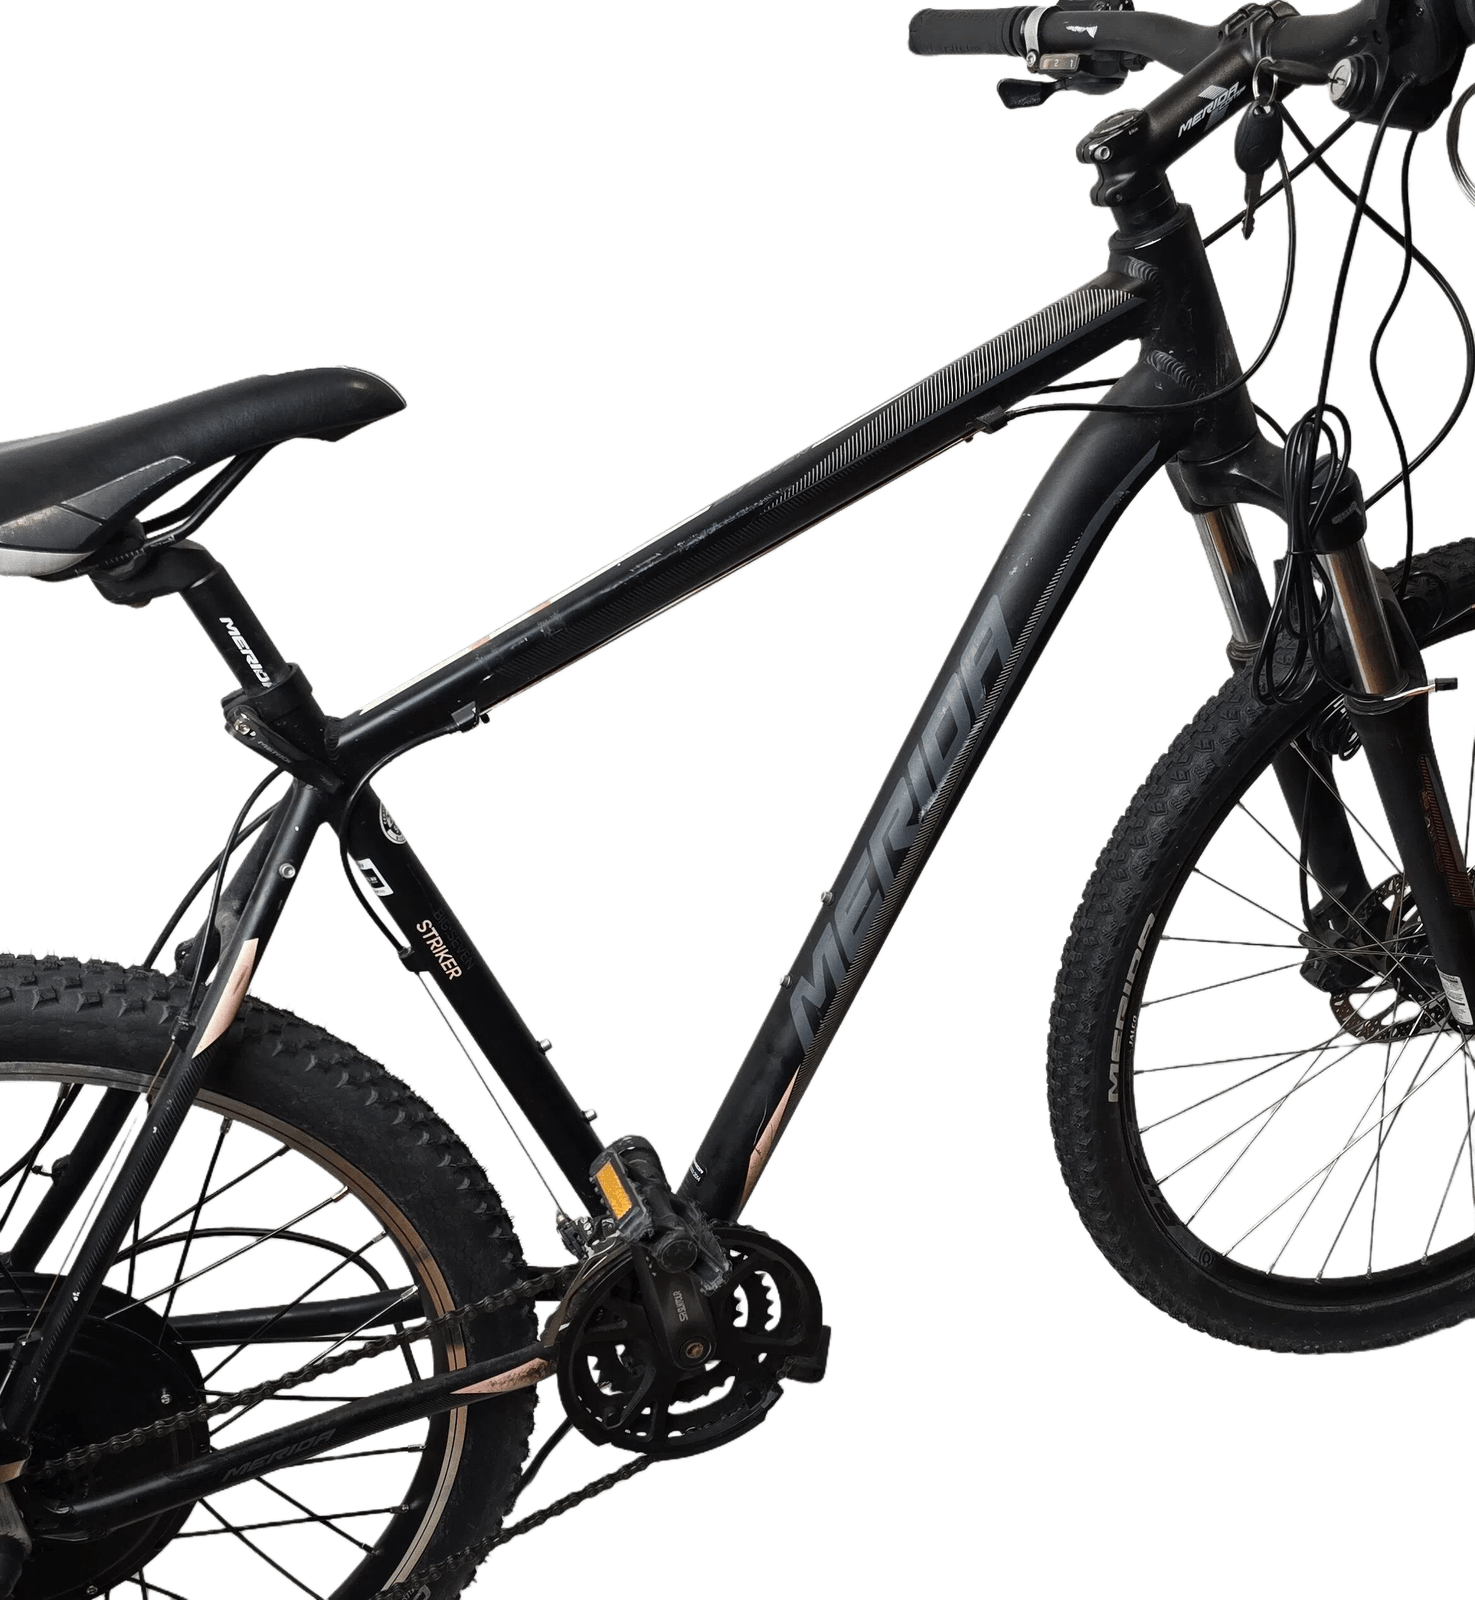
The bike frame
This is what the frame can look like. Note the bottle cage mounts that you will use for the battery bracket.
Mount the battery bracket
The battery mounting plate comes with the battery from LiVerkstaden.
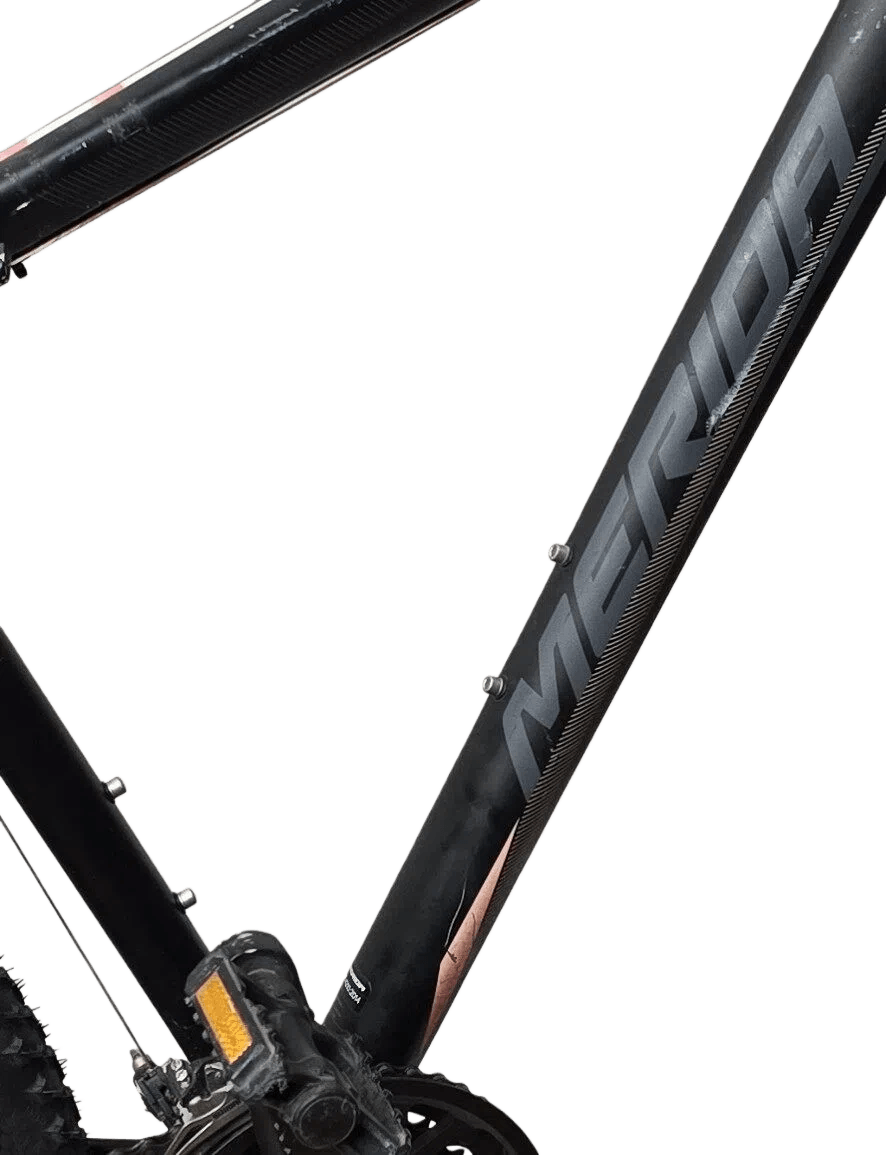
Remove the bottle cage screws
Locate the bottle cage screws on the down tube and remove them.
Attach the battery bracket
Attach the battery mounting plate with the bottle cage screws. Make sure the bracket sits firmly and that the battery will be able to slide on and lock.
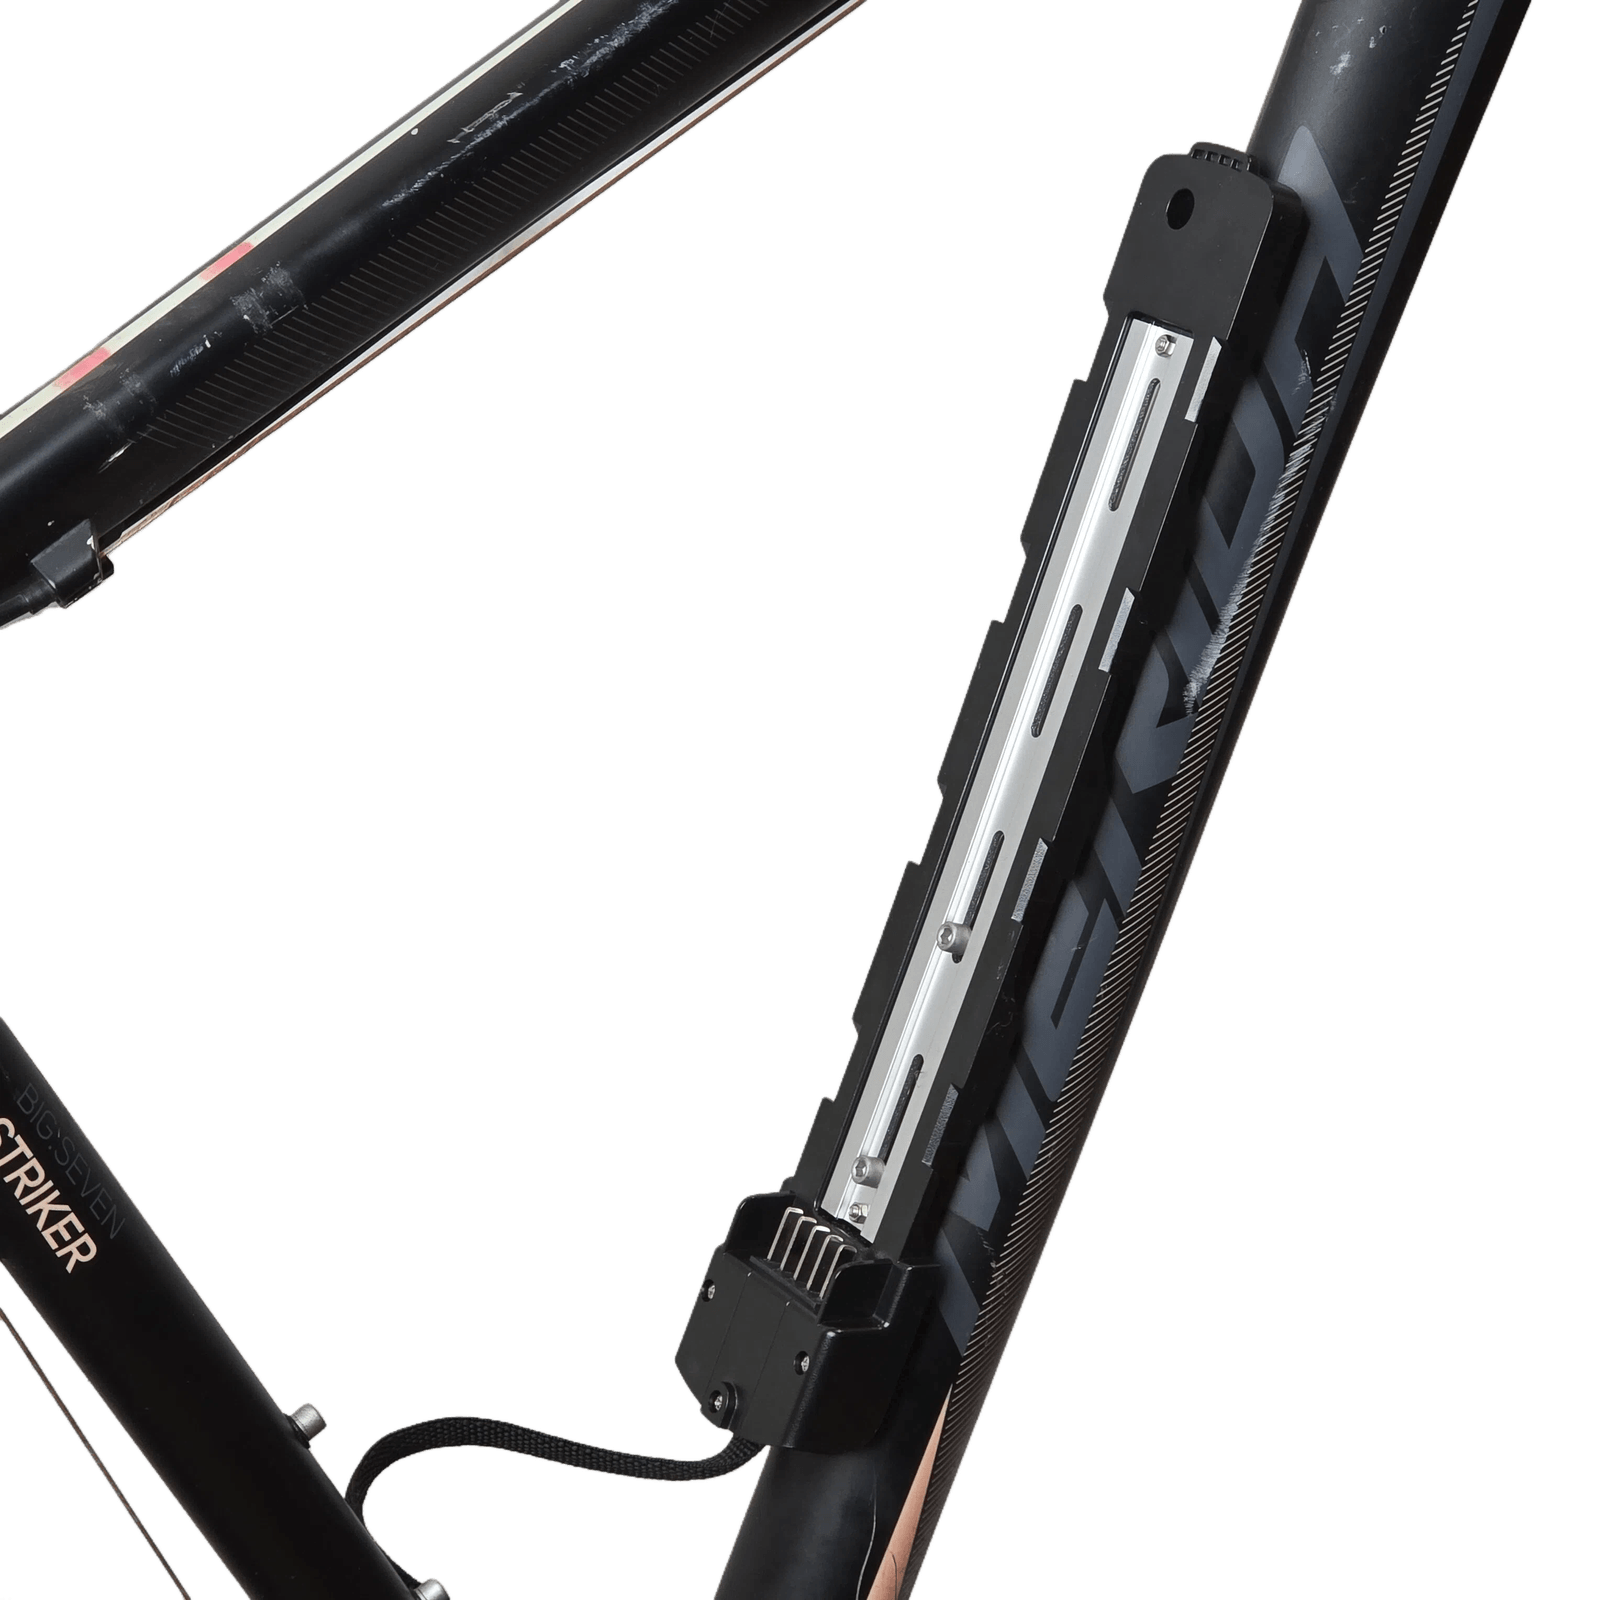
Before you screw the bracket in place, measure and check that the battery fits and that the controller will also fit there, see the next section.
Mount the controller
Find a suitable location
The controller needs to be mounted where it is protected and the cables can reach.
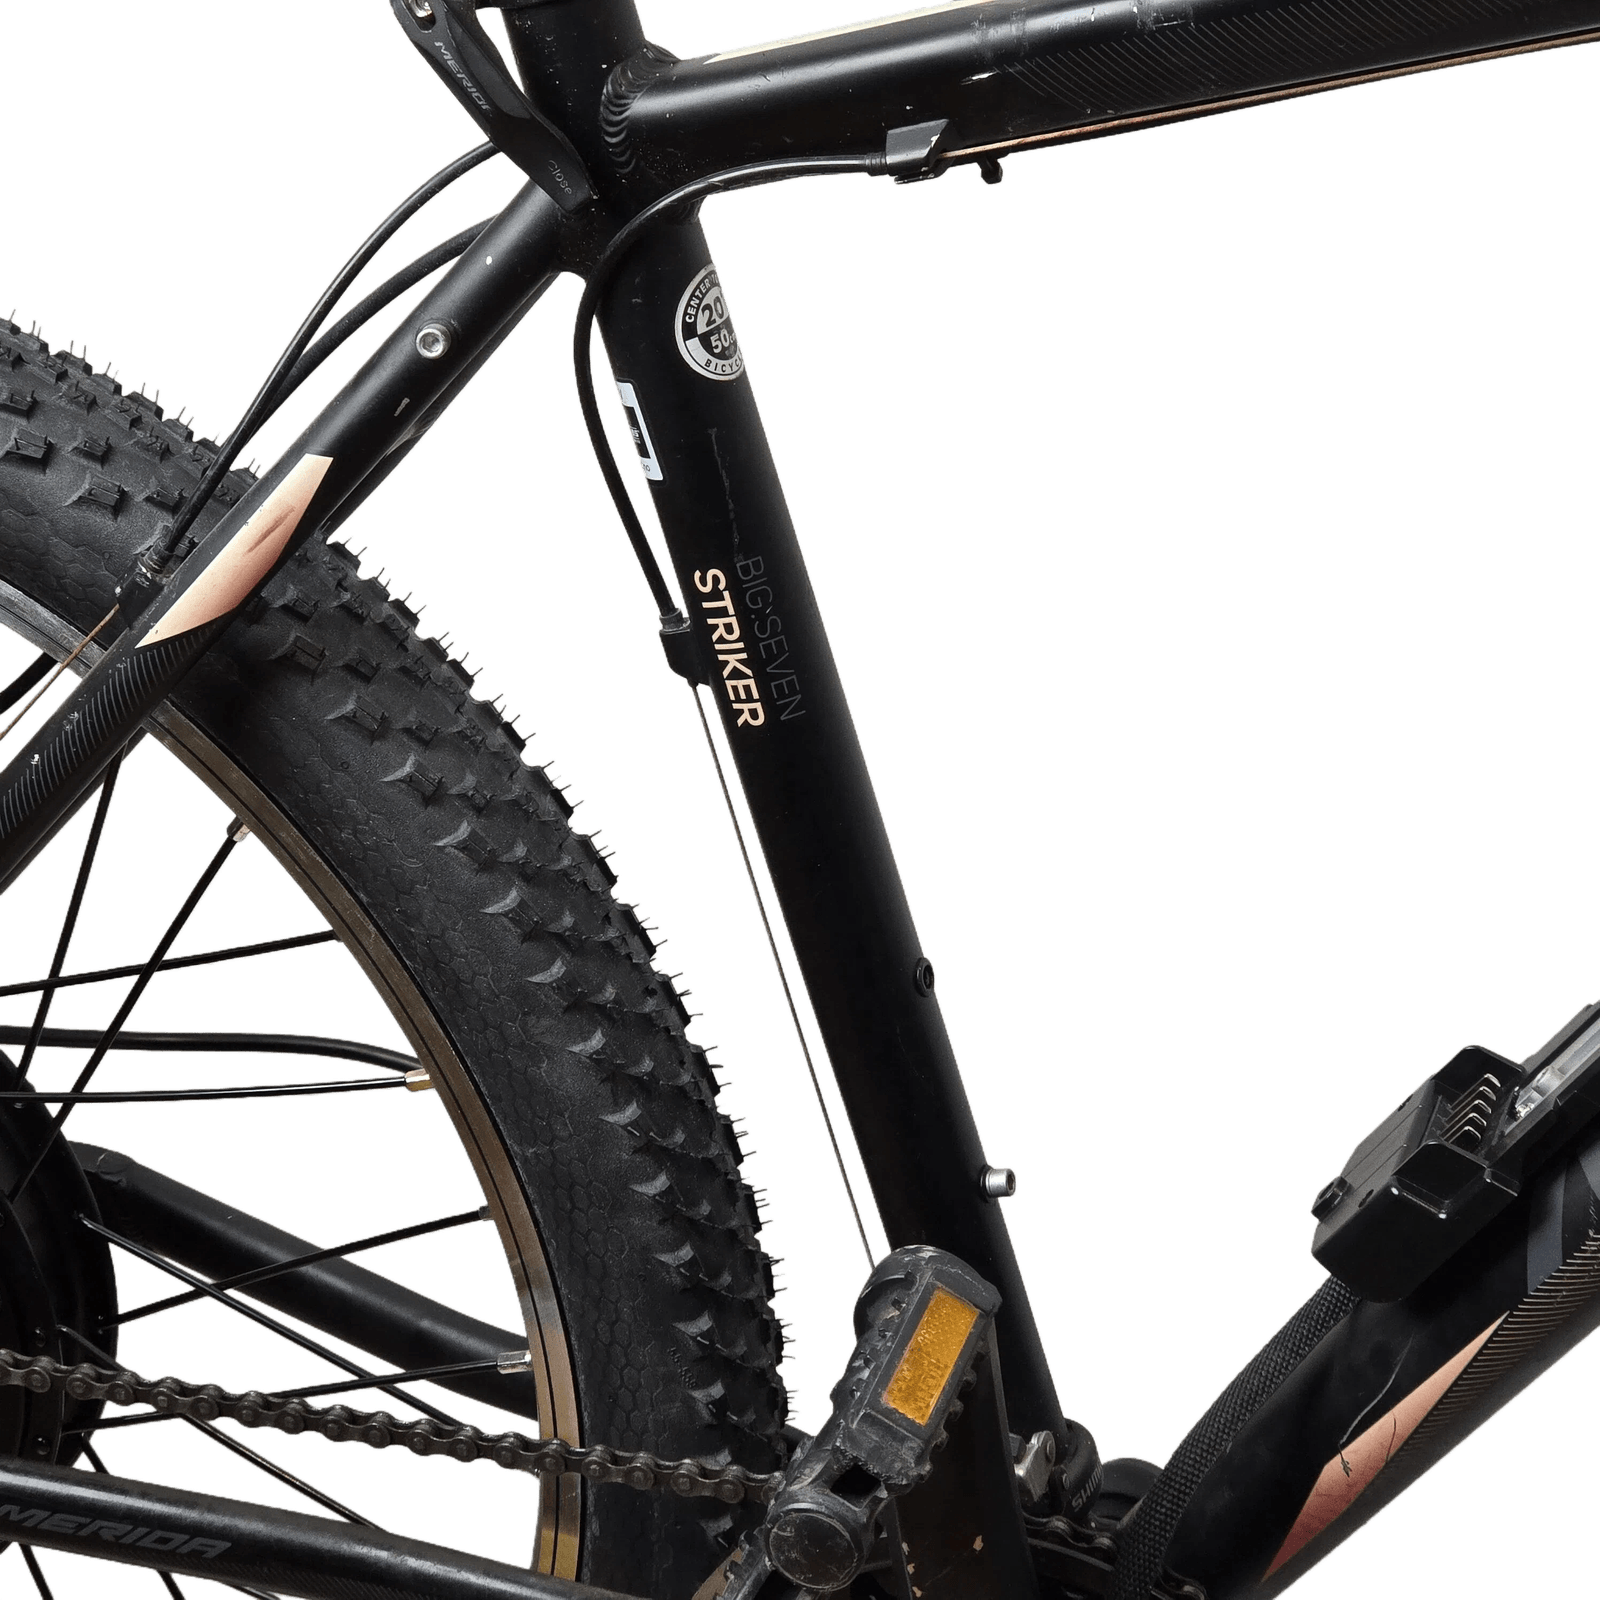
Common locations:
- In the frame triangle, behind the battery
- Under the rear rack
- In a bag on the frame
- Under the saddle
Secure the controller
Secure the controller with zip ties or other creative methods.
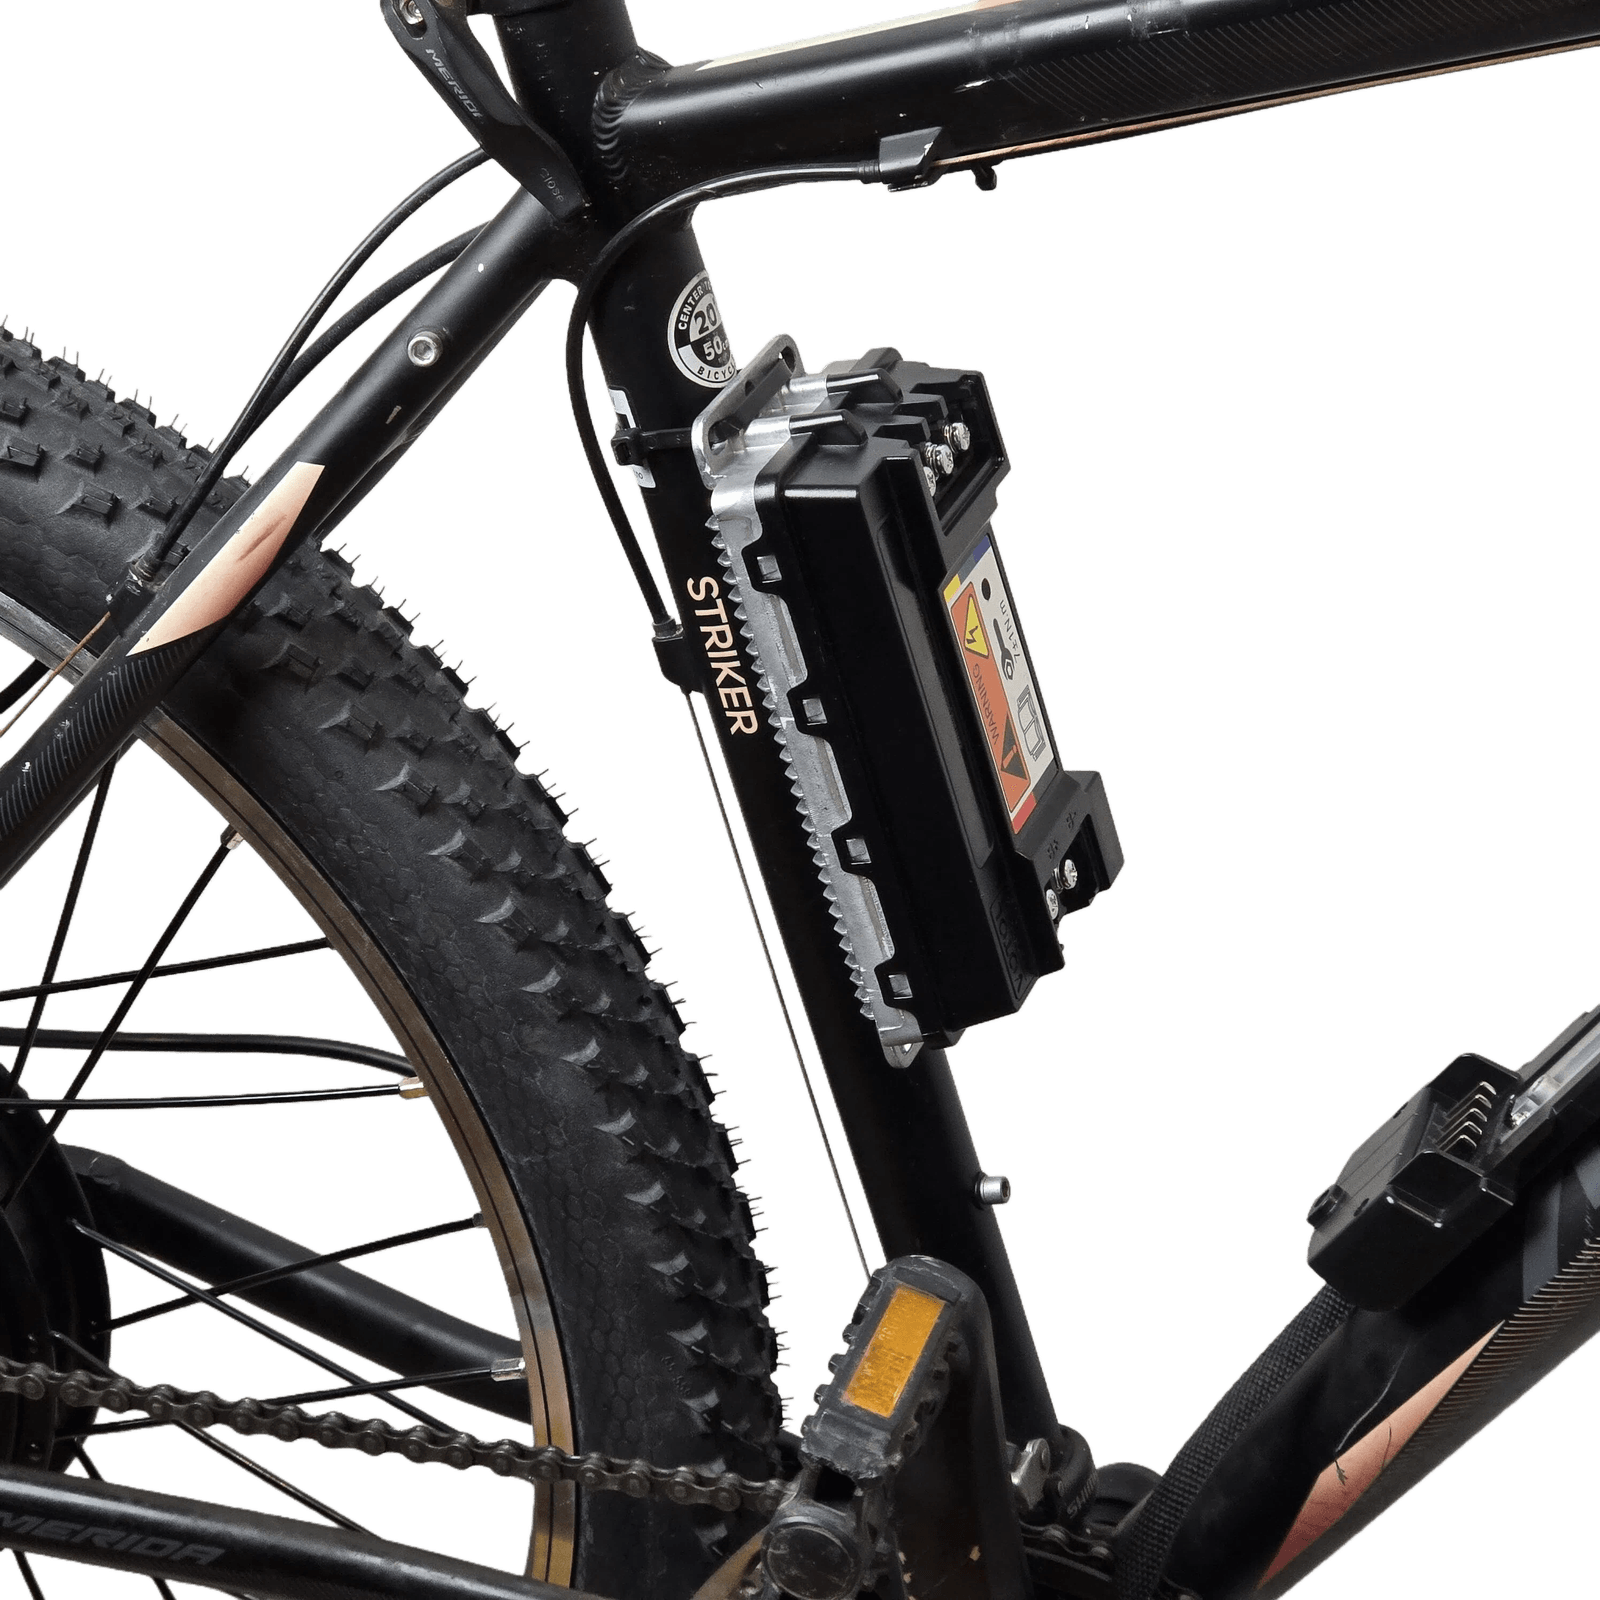
Sometimes there are bottle cage mounts on the other side of the frame triangle as well. These can be used for the controller.
Keep in mind:
- The controller must sit securely and must not be able to shake loose
- The cables must reach without being stretched too tightly
- It should be protected from spray and impacts
- You should be able to reach the connectors
Done!
The battery bracket and controller are mounted. Now only the final connection remains!
Next step: Step 7: Connect everything and finish