Step 1 - Remove the old rear wheel
The first step is to remove the existing rear wheel from your donor bike. The motor wheel will replace it.
Prepare the handlebars
Remove any handlebar accessories that could get pinched when the bike is upside down. Bell, lights, bike computer, etc. Turn them aside so they do not hit the ground.
Prepare the workspace
If you are working on a rough surface such as asphalt, concrete, or stone, place down a soft surface where the saddle and handlebars can rest. Cardboard, a blanket, or an old rug works well.
Turn the bike upside down
Carefully turn the bike so it rests on the saddle and handlebars.
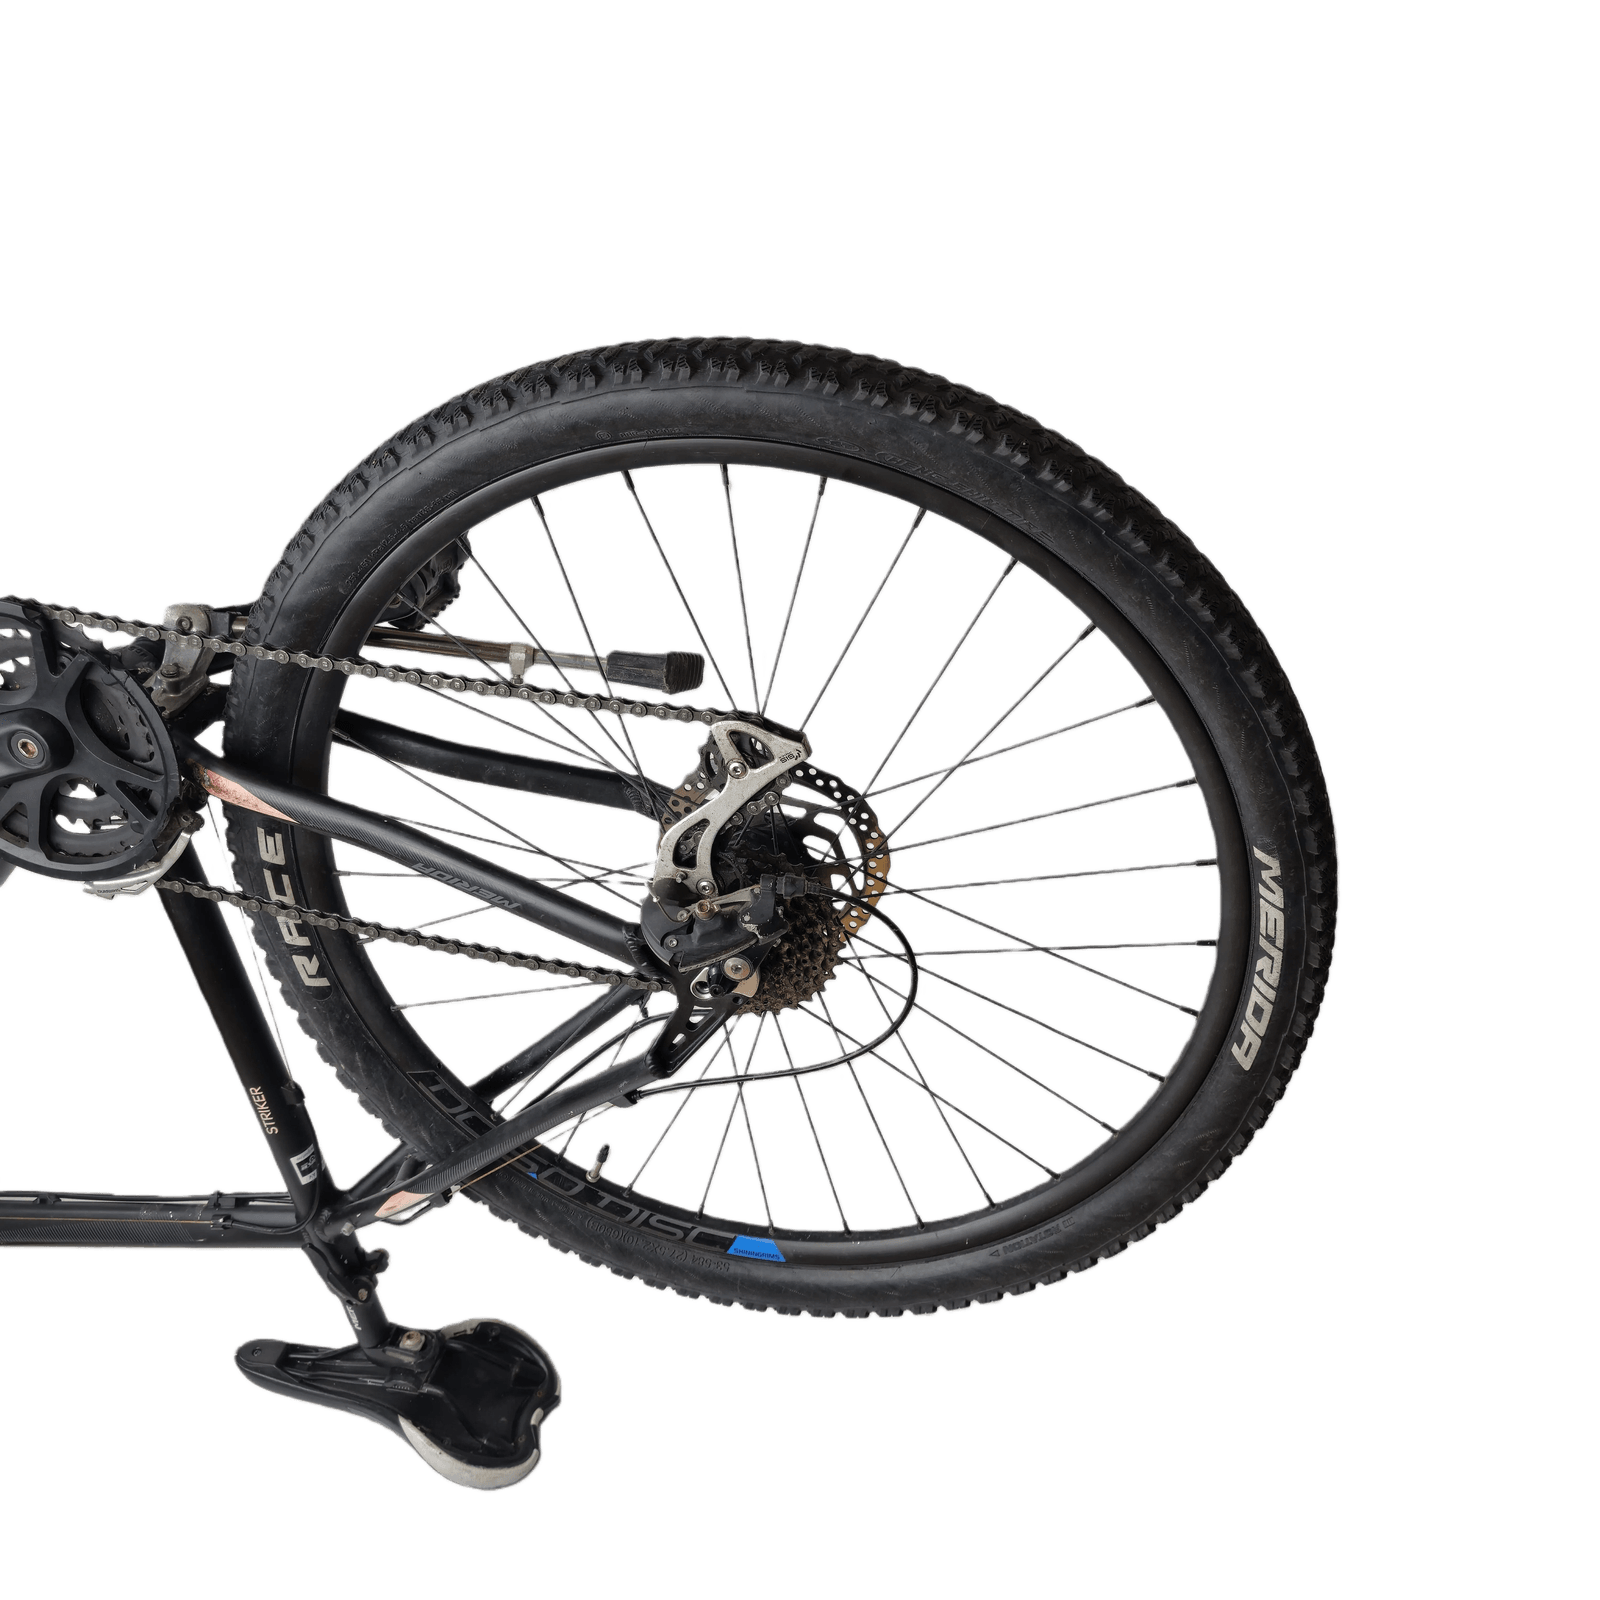
Shift into the highest gear
Before removing the wheel, shift the bike into its highest gear (smallest rear sprocket). This makes it easier to remove and install the wheel.
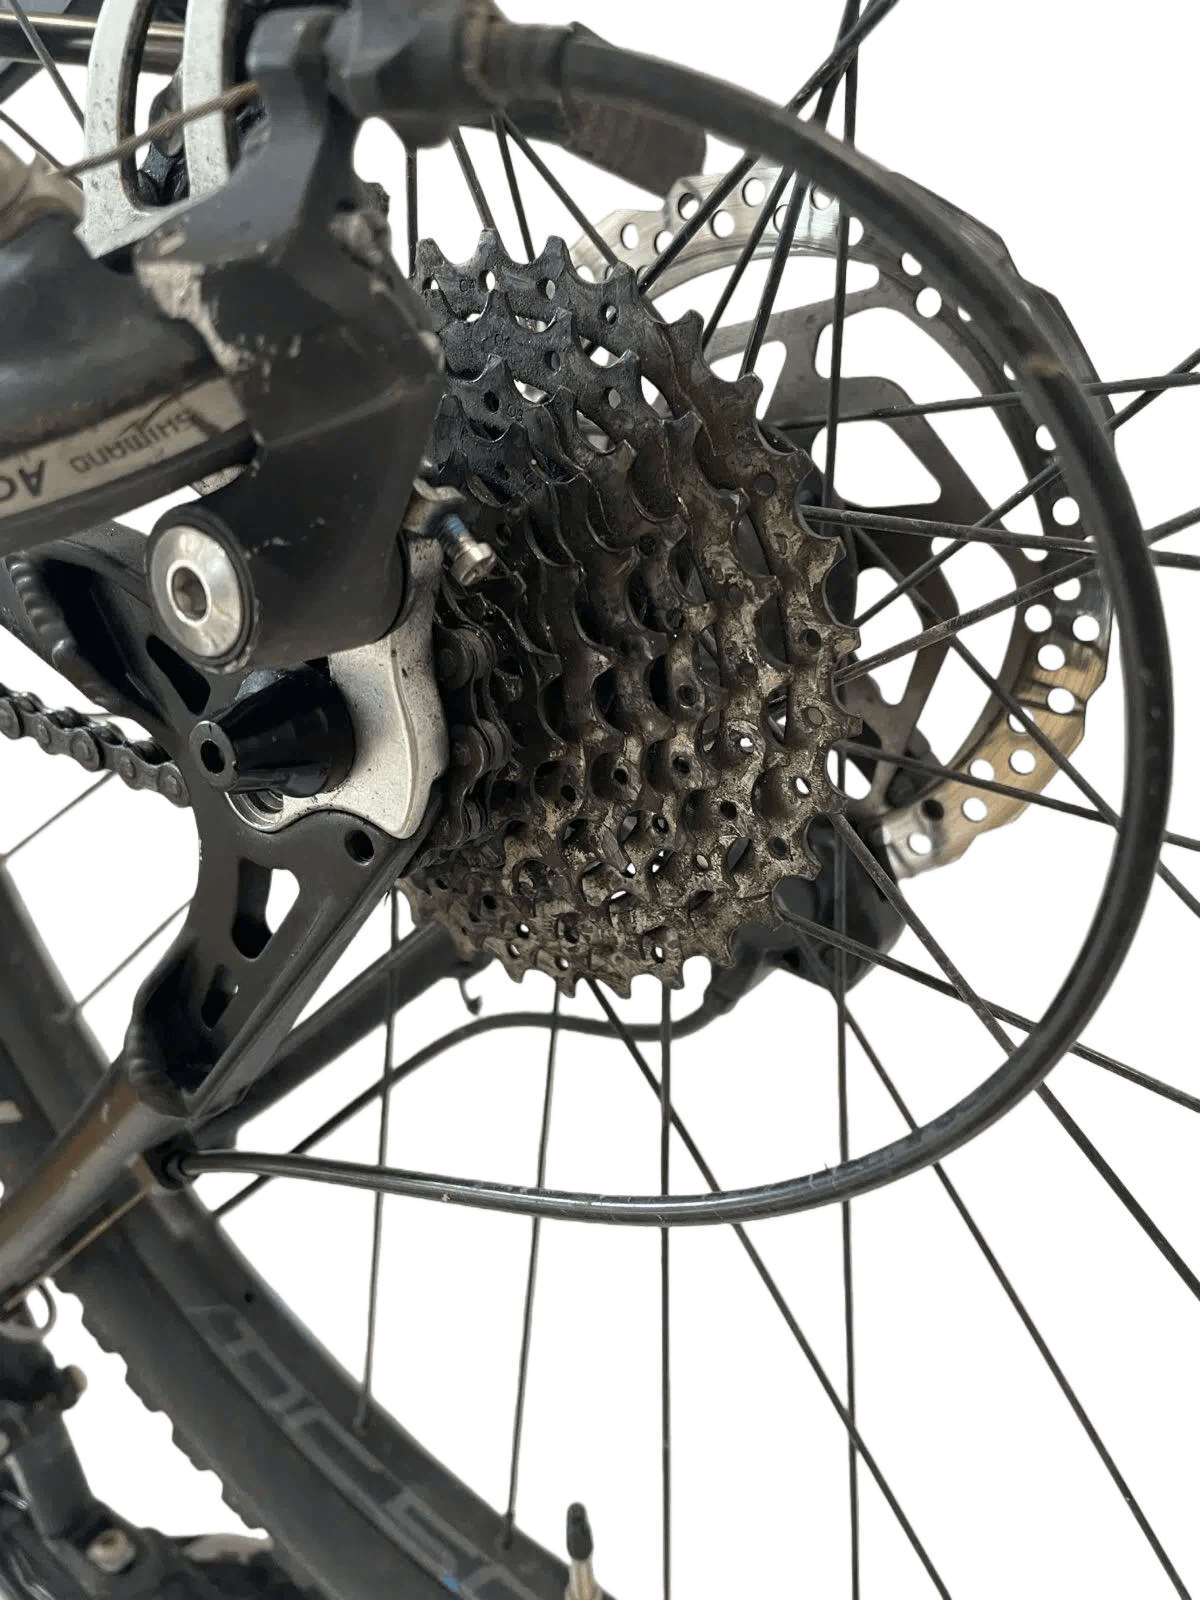
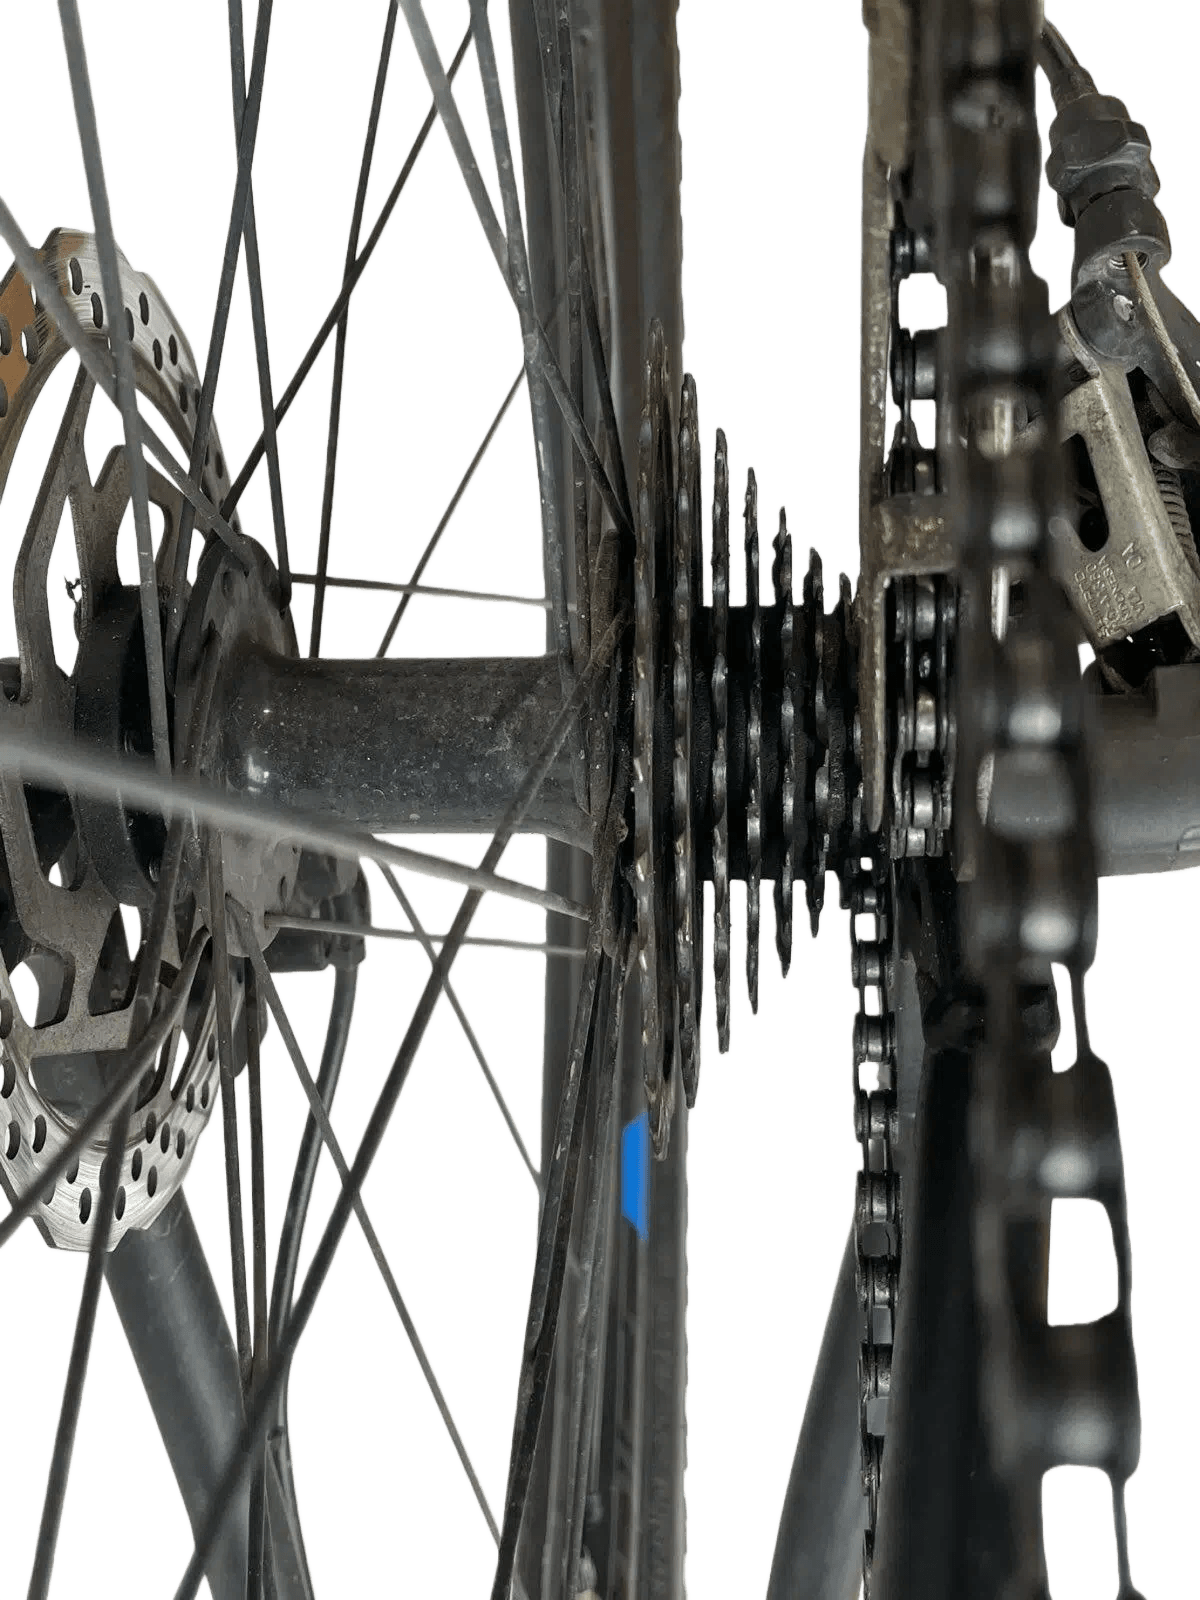
Loosen the wheel nuts
Loosen the wheel nuts, or the quick release if your bike has one. Do not remove them completely yet.
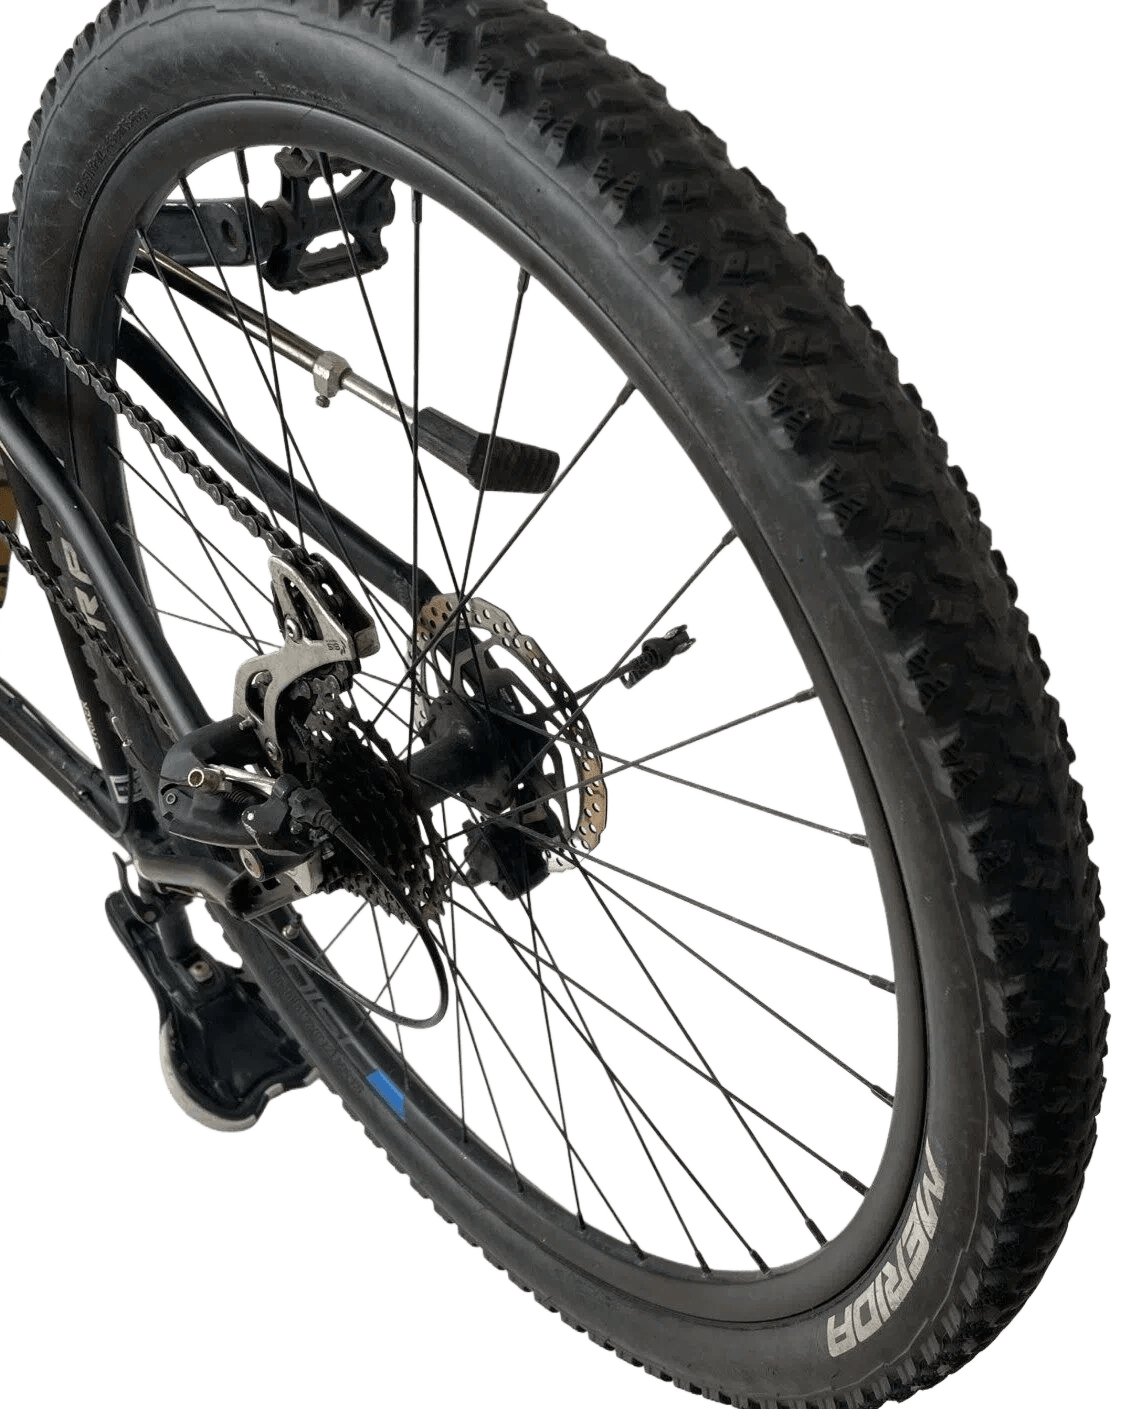
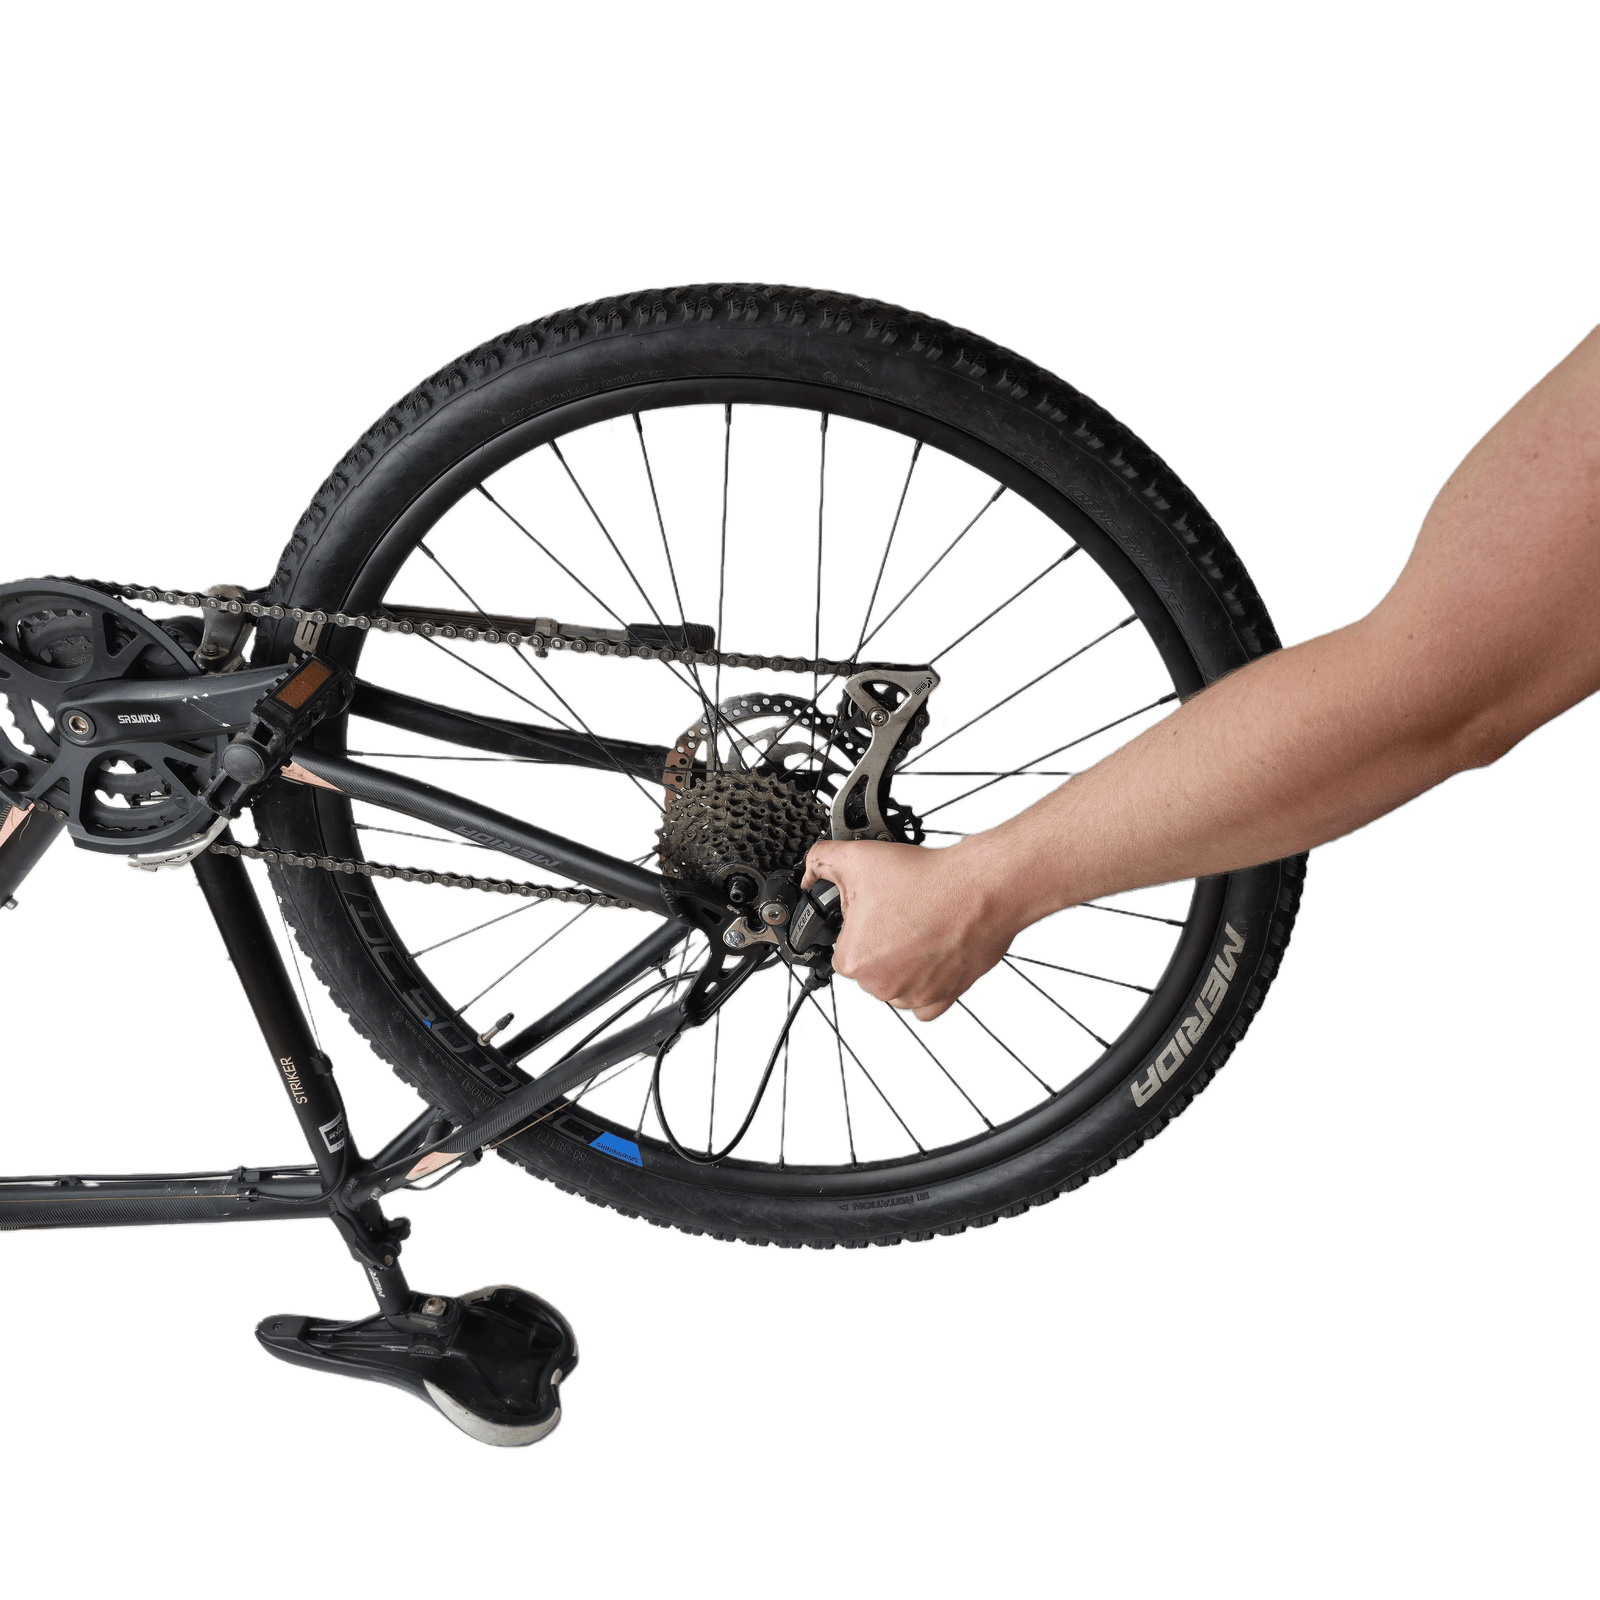
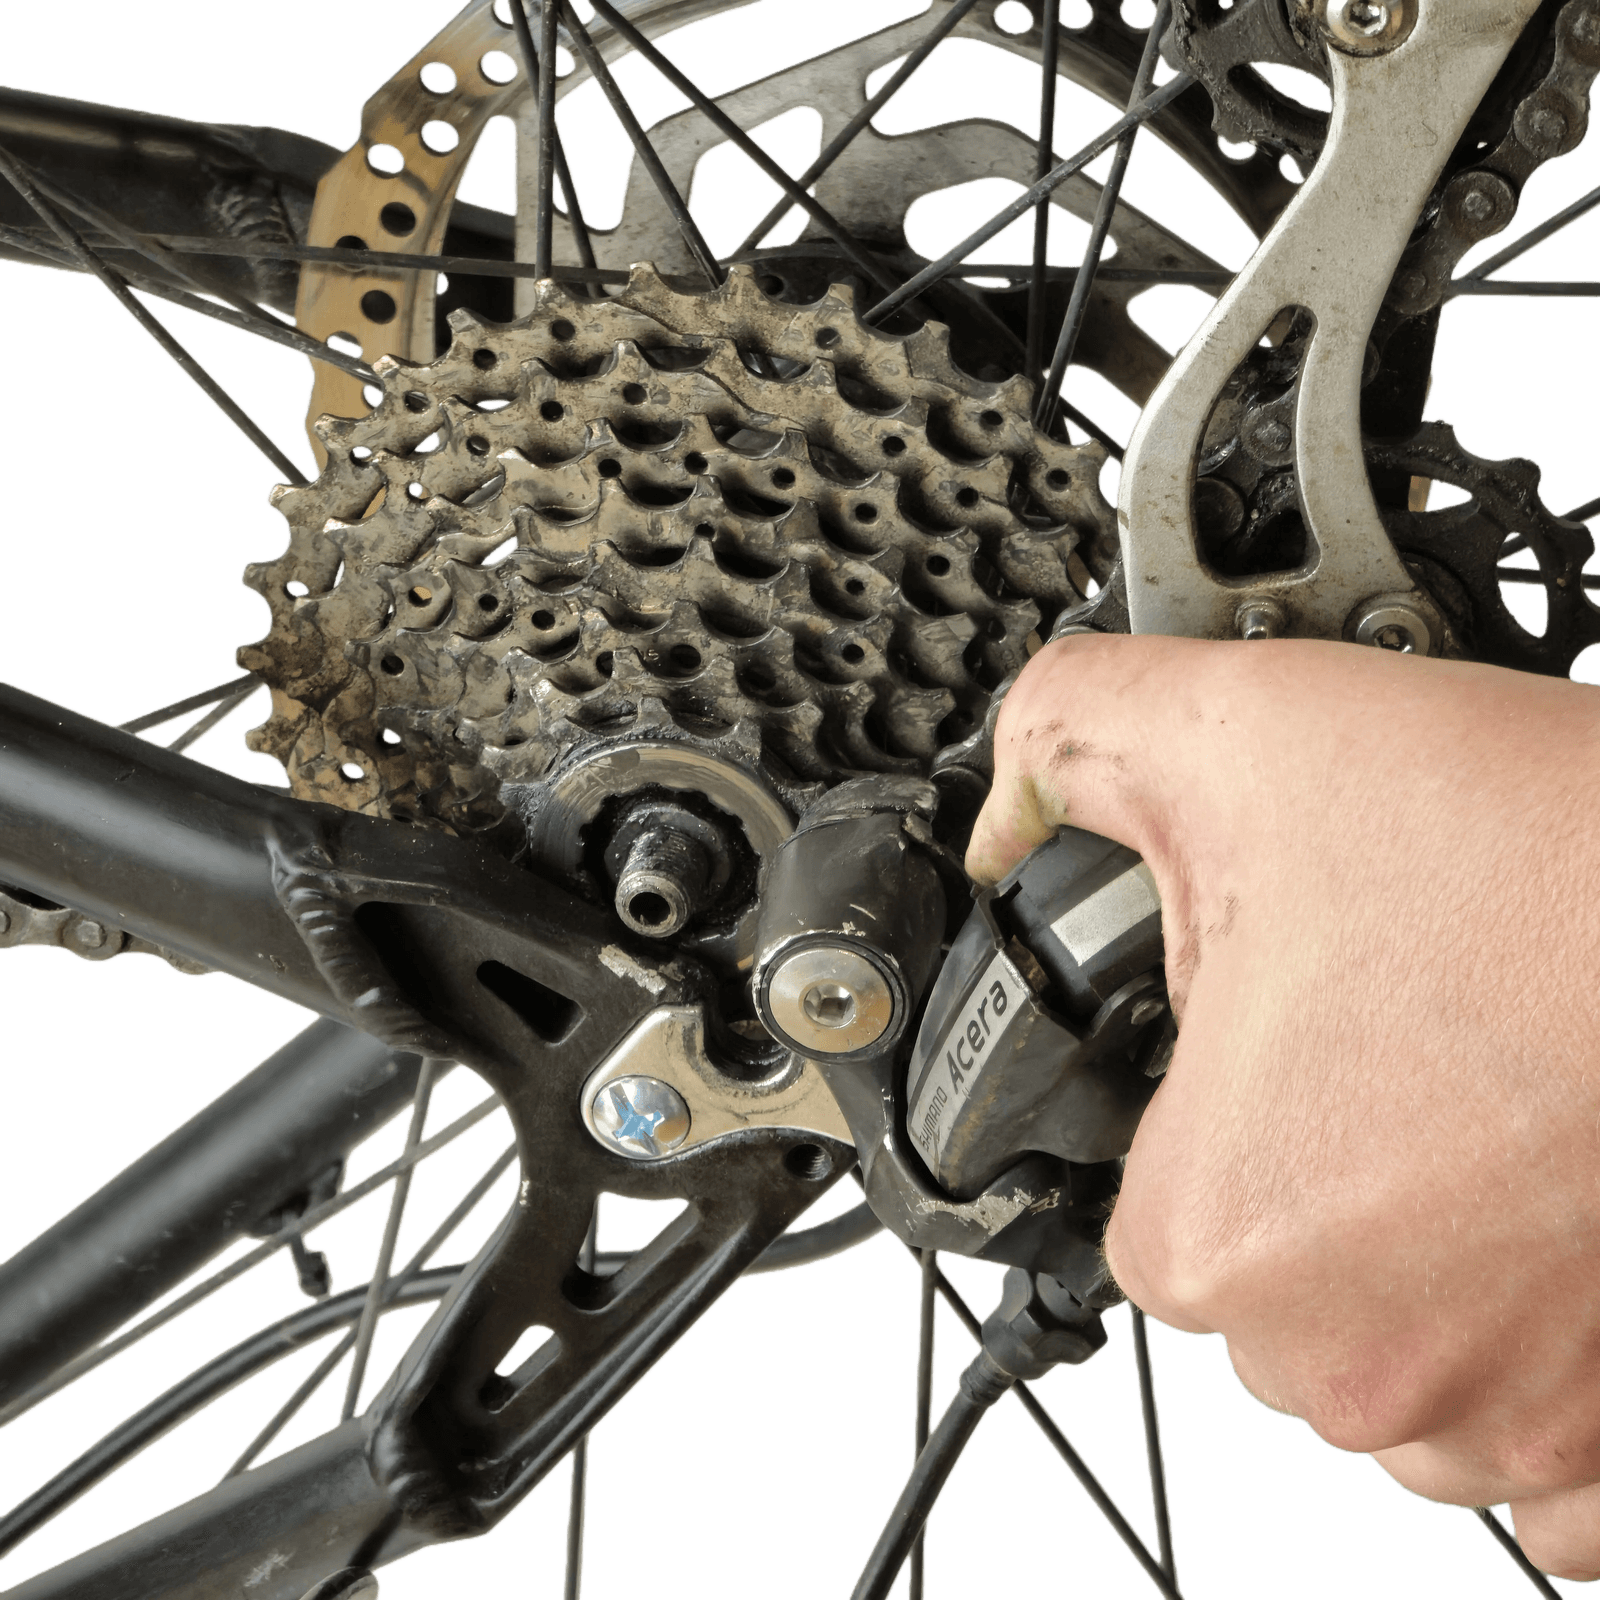
Lift out the rear wheel
Hold the rear derailleur out of the way with one hand and carefully lift out the rear wheel with the other.
Set the wheel aside
Place the old rear wheel next to the bike. You may need the brake disc and/or freewheel from it later.
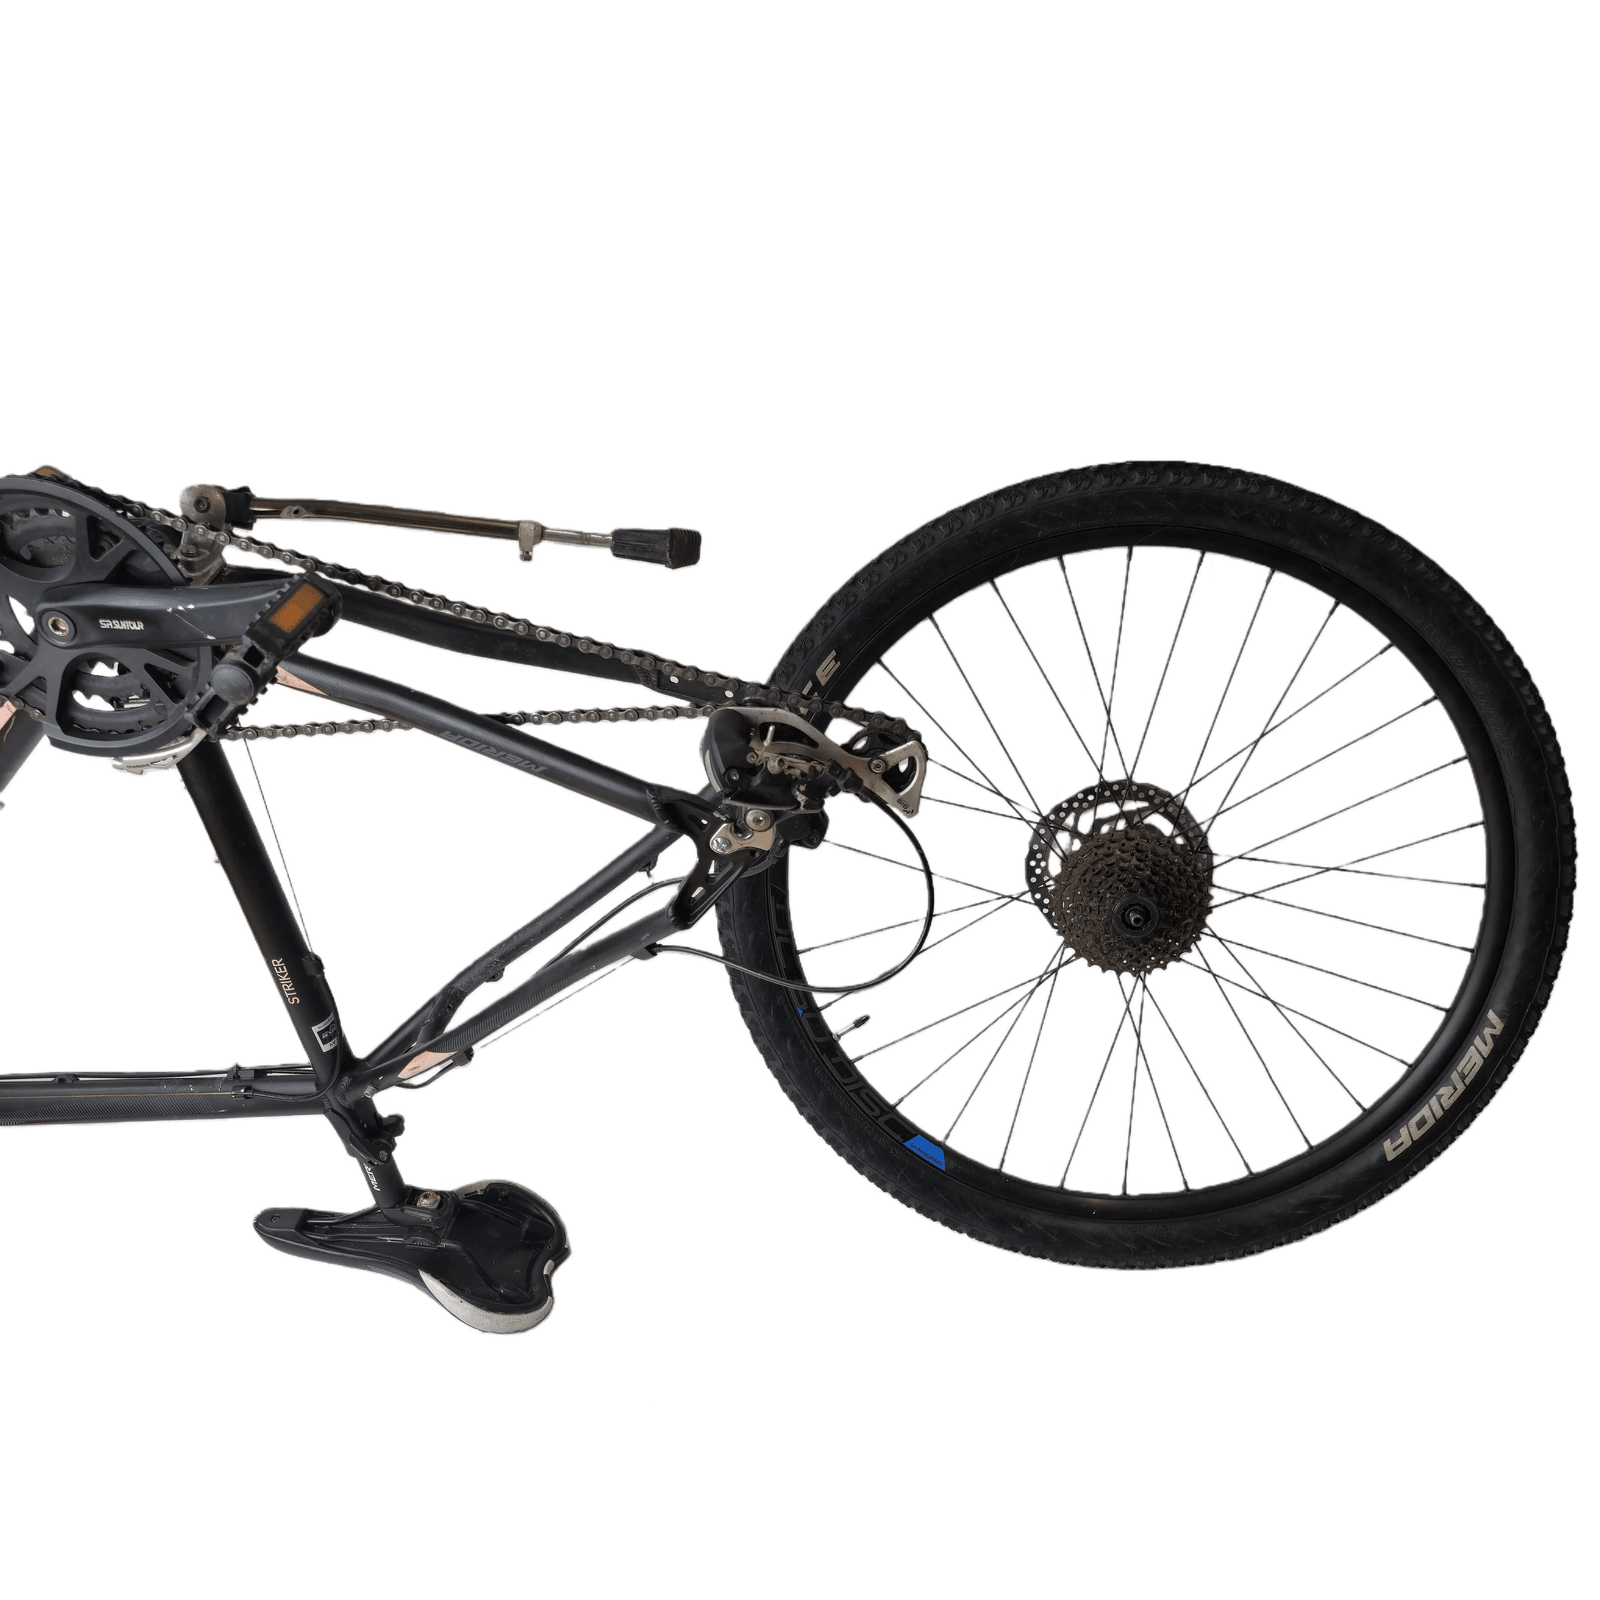
Done!
The old rear wheel has now been removed.
Next step: Step 2: Prepare the motor wheel